Integrating MongoDB to NextJs


If you are working on a fullstack project, sooner or later you probably will get into the situation where you need to connect your web app to a database. In this blog post I will use MongoDB. This is pretty straight forward non-SQL database, which you can easily use for free!
How to get started?
Before we can dive into the actual code, you will firstly need to set up some things concerning MongoDB. Firstly, create an account here. We will be using MongoDB cloud atlas.
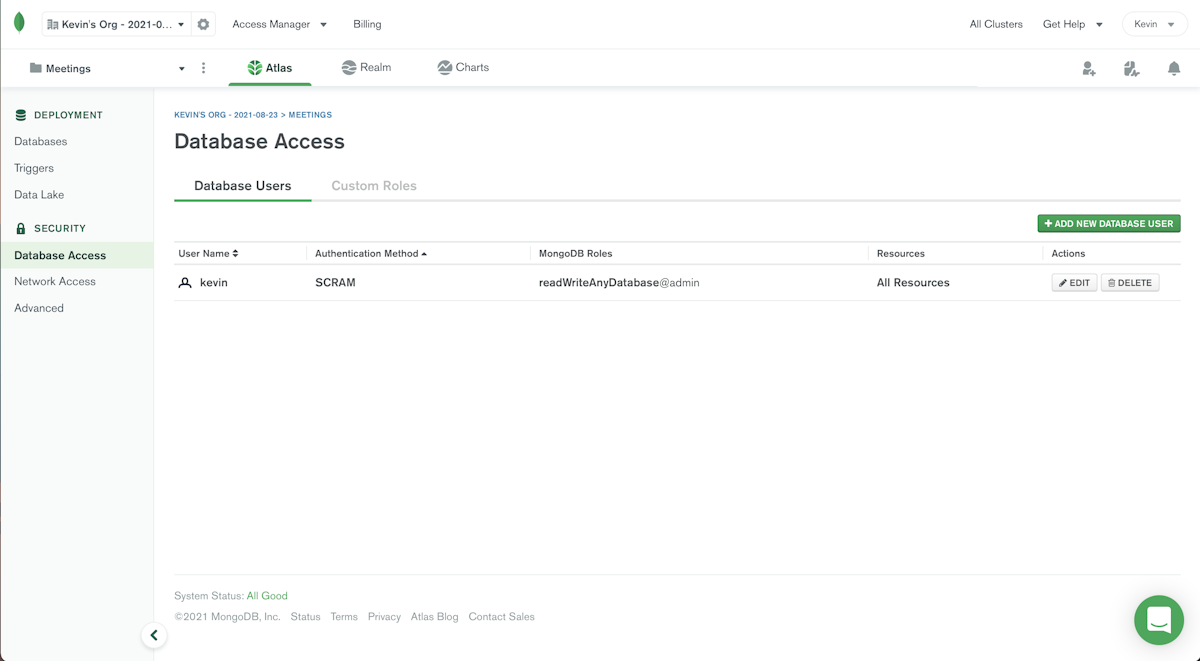
After completing your registration and setting up an organization, you mainly will need to set up to things. Go to Database Access and add a new user. Make sure, that this user has read and write access! Use password as the authentication method and note this password, because you will need it soon.

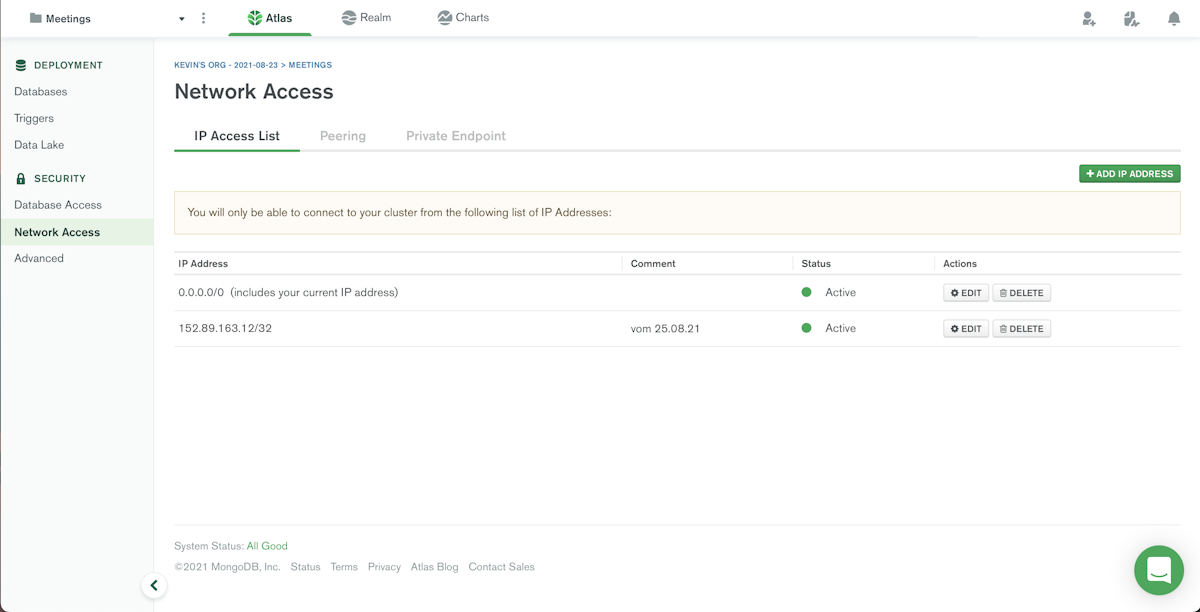
After setting up your user, go to Network Access and add your current IP-address in order to be able to establish a connection to your database. Alternatively, you can allow access from every IP-address.
How to set up my code?
Since this post is all about data fetching, the getStaticProps function is the perfect place for establishing a connection and fetching data. If you don't know about getStaticProps and the other options NextJS offers, visit this site.
Below you can find the whole code for connecting and fetching data from MongoDB. We will go through it step by step.
import { MongoClient }
from "mongodb";

export async function
getStaticProps() {

  const client =
  await
  MongoClient.connect(
    "mongodb+srv://
    <username>:<username>
    @cluster0
    .pqdlimongodb.net/
    <dbname>?retryWrites
    =true&w=majority"
  );

  const db =
  client.db();

  const yourCollection =
  db.collection
  ("yourCollection");


  const yourData =
  await yourCollection
  .find().toArray();

  client.close();

  return {
    props: data
  };
}
In a first step, you need to install the required dependencies via npm i mongodb. After doing so, import the MongoClient with:
import { MongoClient }
from "mongodb";
As you can see, I constructed the whole function to be asynchronous, which usually is a good idea when it comes to data fetching. The first constant called client establishes the actual connection to your database. Inside the parentheses of the connect function you will need to replace the <username> and <password> with your credentials from the settings from the first step of this blog. Additionally, you will have to replace <dbname> with a name for the database of your choice!
After establishing a connection, you can store an instance of your database in the variable called db.
const yourCollection =
  db.collection
  ("yourCollection");
Since MongoDB is a so called non SQL-database, we are working with collections here. The code snippet above shows how to store such a collection in the const yourCollection. In the case that this collection doesn't exist yet, it will be automatically generated by MongoDB. That's quite nice, isn't it?!?
In the next step, you store the actual data from the collection in a const called yourData. In that here, we are storing all entries in the collection. Alternatively, you could use following code:
const yourData =
  await yourCollection
  .find({}, {})
  .toArray();
In the first pair of curly braces, you can add filters, which will be applied to your collection data. The second pair of curly braces then tell your code, which data fields of your collection the filter should be applied on.
const yourData =
  await yourCollection
  .findOne({
  id: 3,
In case you're only looking for one specific data point in your collection, you can also use the code snippet from above. In this specific case, we are looking for data entries with the id of 3.
In a last step, you would want to cut the connection to your database with following code:
client.close();
Conclusion
So this was still a quite simple use case of integrating NextJS and MongoDB. It can get a bit more complex for example when it comes to fetching data for dynamic site. This will be covered in a separate blog post!
I hope you found this blog post helpful. Anyway, thank you for reading this article and have a nice day!